Edu-Games.org
By Teachers, for Teachers

Free Printable Compare Fractions Worksheet Generator

Generate free printable compare fractions worksheets — choose same denominator, same numerator, or mixed comparisons, set the denominator range, and include negative fractions. Download a unique PDF with optional answer key. No account needed.

1.7M+ worksheets downloaded  ·  Instant PDF download  ·  No account required

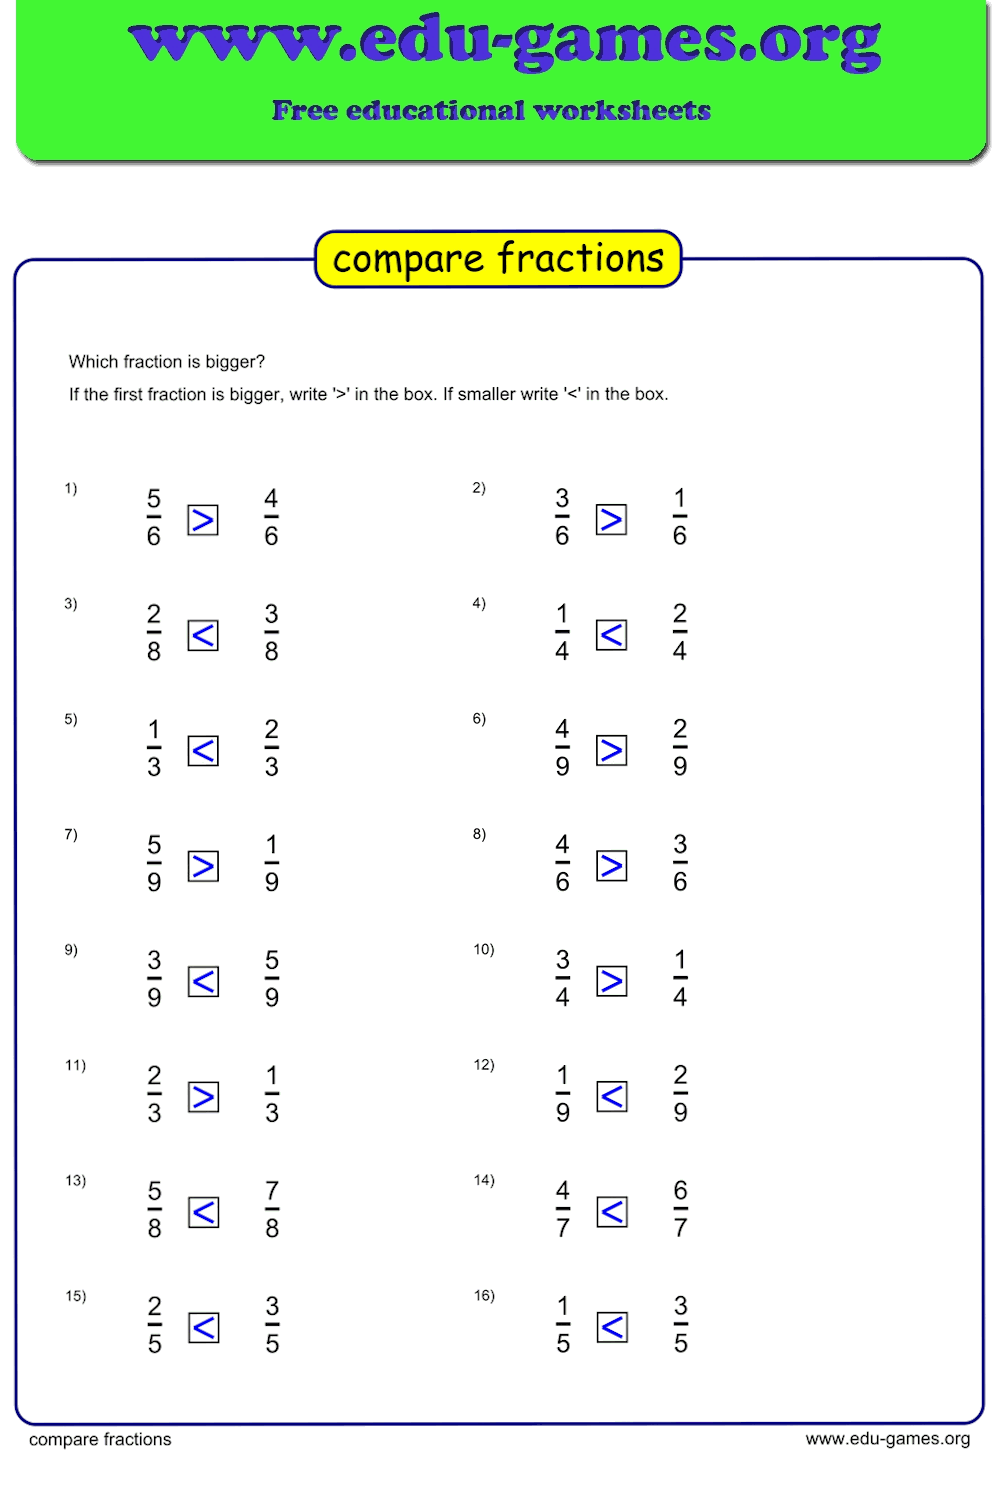
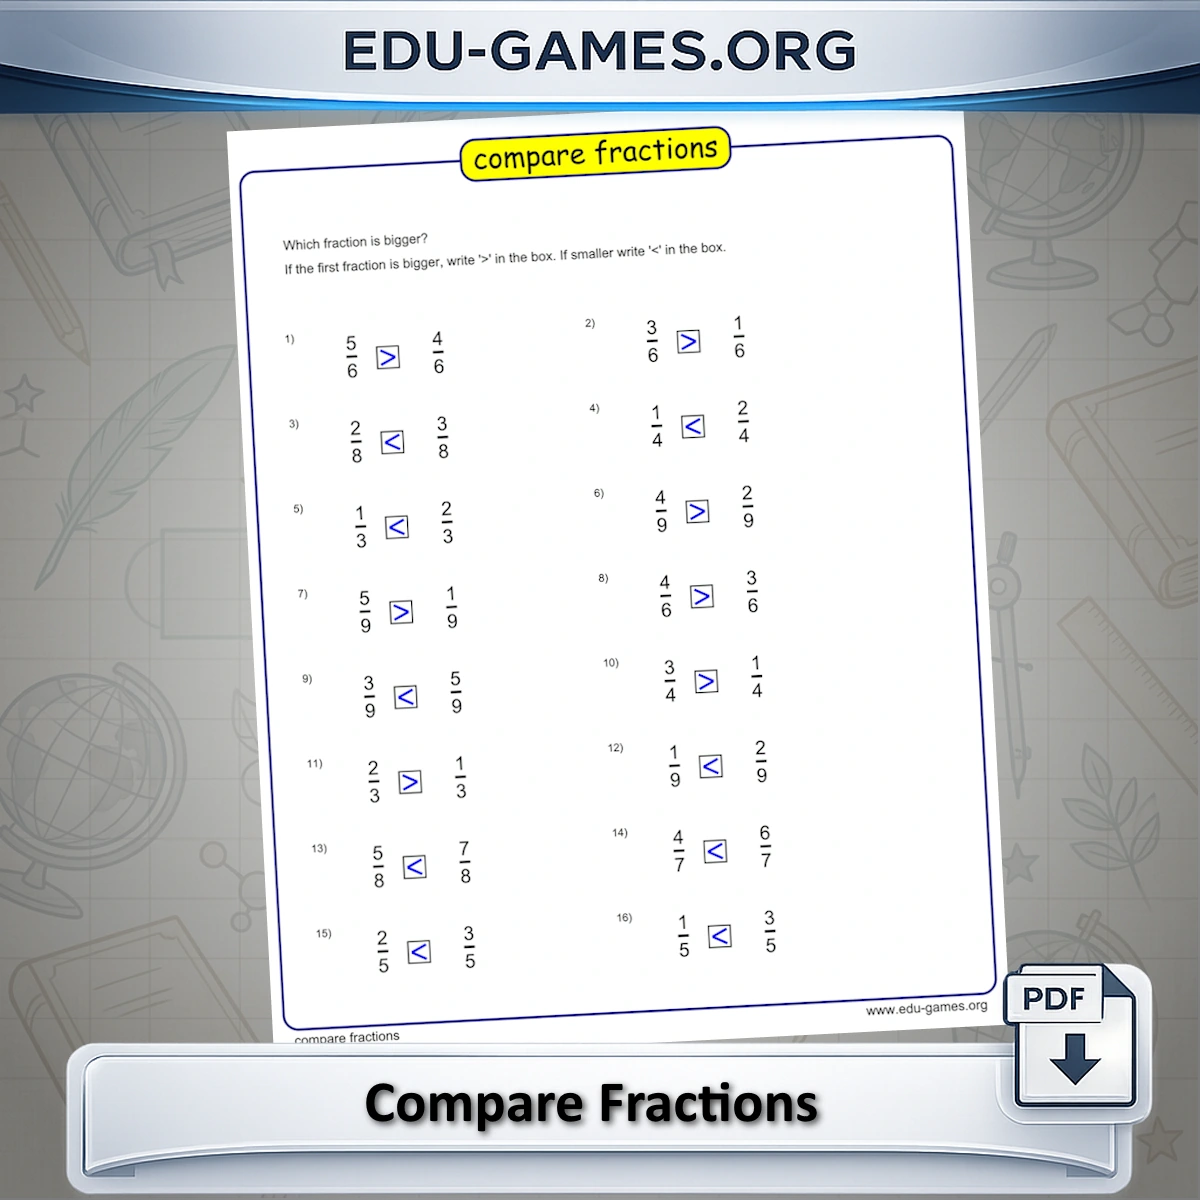
Free printable compare fractions worksheet generator

Each worksheet presents a set of fraction pairs. Students circle the larger fraction in each pair — or write >, <, or = between them. Choose whether pairs share the same denominator, the same numerator, or neither, and set a denominator range to match the level of your class. The generator creates a unique set of problems on every click, with an optional answer key included in the PDF.

Create Your Compare Fractions Worksheet

Denominators range:
?
By writing them with commas.
 Example: 2,5,8 → this means you only pick the numbers 2, 5, and 8.

By using a dash ( - ).
 Example: 2-5 → this means you pick all numbers from 2 up to 5 (2, 3, 4, 5).

👉 You can also mix both!
 Example: 1,3,5-7 → this means 1, 3, 5, 6, 7.
shortcuts for denominator range.
Type of comparision:


Positive or negative values:


Problems per page:
Include solution page
Paper format:

How to Use This Compare Fractions Worksheet Generator

  1. Set the denominator range — enter a range (e.g. 3–9) or a comma-separated list of specific values (e.g. 4,6,8,12). Use the shortcut buttons — medium, hard, or extreme — to apply preset ranges matched to common difficulty levels.
  2. Choose the comparison type — Same Denominator keeps the bottom number fixed so students focus on numerators only. Same Numerator keeps the top number fixed so students focus on the relationship between denominator size and fraction value. Mixed combines all cases and is the most demanding setting.
  3. Choose positive or negative fractions — select positive-only for introductory practice, negative-only for targeted work on the reversed comparison rule, or both for a mixed challenge.
  4. Set the number of problems per page — 10, 16, or 20 problems.
  5. Click "Create" — a preview of the worksheet appears instantly.
  6. Download the PDF — enable the Solution option before downloading to include a completed answer page.

Why Use Compare Fractions Worksheets?

Comparing fractions is a conceptual checkpoint — students who cannot reliably determine which of two fractions is larger have not yet built a robust understanding of what a fraction represents. Many students can recite comparison rules without being able to apply them accurately, particularly when denominator size and fraction value move in opposite directions (as with same-numerator pairs like 2/5 vs. 2/9) or when negative values are introduced.

This generator separates the three main comparison types so you can target exactly the pattern your students need to practise:

  • Same denominator — the simplest case; builds confidence and establishes the basic comparison direction before any complication is introduced.
  • Same numerator — directly confronts the inverse relationship between denominator size and fraction value, which is the most common source of errors at this level.
  • Mixed — students must first identify which case they are looking at before applying the correct strategy, matching the demands of tests and real-world problem-solving.

Because the generator creates a unique problem set on every click, you can produce a different worksheet for each session, for each student, or for retesting without any repetition.

Compare Fractions Worksheets — Frequently Asked Questions

What is the difference between comparing fractions with the same denominator versus the same numerator?

When the denominator is the same, comparing fractions is straightforward: the larger numerator means the larger fraction (e.g. 5/8 > 3/8). When the numerator is the same, the rule reverses: the smaller denominator produces the larger fraction, because the whole is divided into fewer, larger pieces (e.g. 2/5 > 2/9). Practising each type in isolation first helps students build separate mental models before mixing them.

How do students compare fractions with different numerators and denominators?

The most reliable method is to convert both fractions to a common denominator, then compare numerators. Students find the least common multiple of both denominators, rewrite each fraction with that denominator, and compare. Other strategies include cross-multiplication (multiply numerator of each fraction by the denominator of the other, then compare the products) and benchmark comparison (decide whether each fraction is greater or less than ½, then compare from there).

What does the "mixed" comparison type include?

The mixed type combines all comparison cases: problems may have the same denominator, the same numerator, or neither in common. This matches real-world testing conditions and is the most demanding setting, since students cannot rely on a single shortcut strategy — they must identify what each pair has in common and choose the appropriate method for each problem.

Why practise comparing negative fractions?

With negative fractions, the comparison rule reverses from what students know for positive fractions: −1/4 is greater than −3/4 because it is closer to zero. Students who have only ever compared positive fractions often make systematic errors when they first encounter negative ones, applying the positive rule incorrectly. Targeted practice with negative fractions — either in isolation or mixed with positive ones — corrects this before it becomes a fixed misconception.

What grade levels are comparing fractions worksheets suitable for?

Comparing fractions with the same denominator suits Grade 3. Comparing with different denominators (finding a common denominator) typically begins in Grade 4–5. Comparing mixed numbers and negative fractions is appropriate from Grade 5–6 onward. The denominator range setting lets you adjust difficulty within these grades — keeping denominators small (2–6) for younger students and expanding the range (up to 20 or beyond) for older ones.

What does the denominator range setting control, and how should I use it?

The denominator range sets which denominator values appear in the generated fractions. Enter a range with a dash (e.g. 3–9) or a comma-separated list of specific values (e.g. 4,6,8,12). The shortcut buttons — medium, hard, and extreme — apply preset ranges that match typical curriculum difficulty levels. Restricting the range to values with a common LCM (e.g. 4,6,12) produces problems students can solve with simple mental calculation; wider ranges require more complex fraction arithmetic.